 My Lists
 Classes
 Learning Center
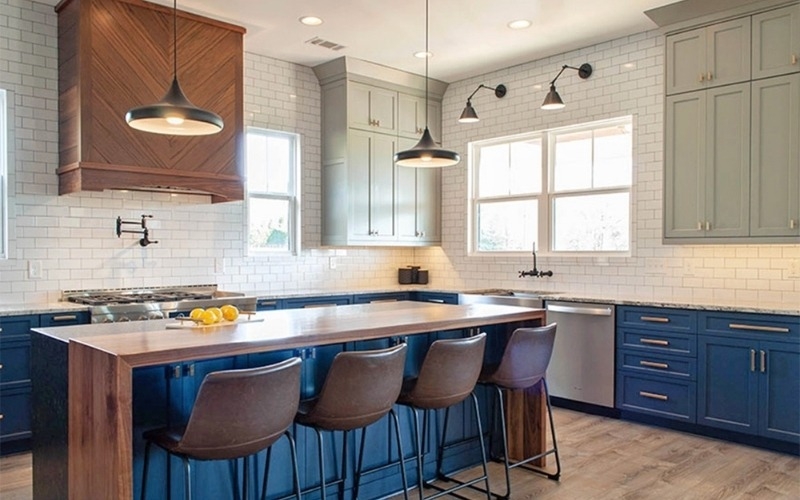
5 Options for Sprucing Up Kitchen Cabinets

If you have an older kitchen, eventually your love affair with how your cabinets look will start to wane. Maybe the quality of the finish on the doors and drawers isn't what it used to be, after decades of hard use and a lot of cooking. It could be that your aesthetic tastes have changed since you first moved in, and that dark walnut stain on the cabinets makes the kitchen look small. Or perhaps someone 30 years ago loved robin's egg blue paint much more than you do now. Well, if the carcases (framework), doors and drawers of your cabinets are still in good functional condition but could use a refresh, you can improve their look without replacing them and spending a fortune in the process! See which of these five scenarios applies best to you. Then read on to consider what you can do to improve the cabinets you've already got.
Scenario 1: You don't like the wood grain of your cabinets and would prefer a different type of wood.

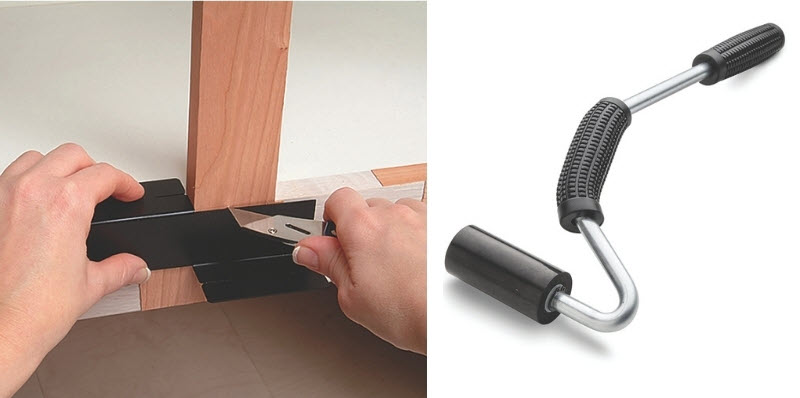
Prominent, swirly oak grain isn't for everyone, nor is mottled hickory or knotty pine. If the grain pattern or wood color of your cabinets leaves a lot to be desired, here's the good news: You can hide it quite effectively under a layer of thin wood veneer. Refacing cabinets with veneer lets you choose from many different wood species including many North American hardwoods and even unusual exotics. The easiest veneer to install comes with a pre-applied pressure-sensitive adhesive on the back. You cut the large sheets of veneer into smaller pieces with a sharp razor knife, peel off the protective backing paper and stick the pieces into place on the cabinet, then press or roll the veneer securely with a J-roller to bond it. Since veneer is real wood, you can then stain or apply a clear topcoat, just as you would do for solid wood. Done carefully, cabinets refaced with veneer can masquerade convincingly in whatever wood species you like.
Here are a few factors to keep in mind when considering veneer refacing. First, attention to detail is key to doing this project effectively. Interior cabinet surfaces will need to be measured precisely to fit the veneer seamlessly. Even easier-to-measure outer surfaces, such as the rails and stiles of face frames, must be covered and trimmed meticulously so their corners are neat and the edges are tight. It also helps to have some experience with a trim router and flush-trim bit, which makes oversized pieces of veneer quick and easy to trim accurately after they are installed. Cabinet surfaces should be clean and smooth for optimal adhesion and to prevent bumps and other irregularities from "telegraphing" through the veneer onto the new surfaces.
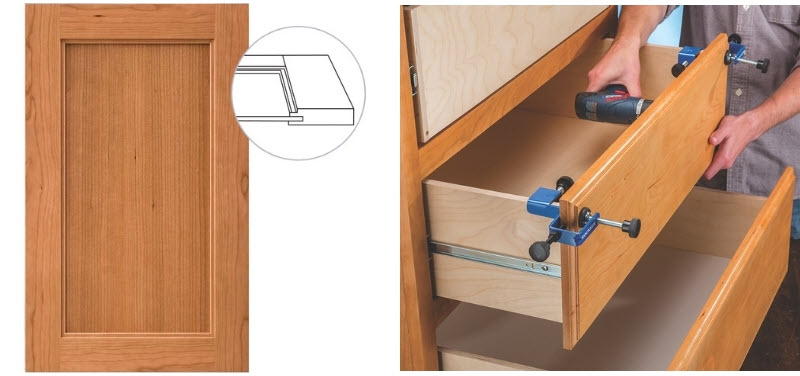
While you may be able to reface slab-style cabinet doors that have no contours or moldings, it won't be an option with typical raised-panel cabinet doors. Glass doors with divided frameworks also will be tricky. And if your cabinets have crown or other moldings that transition them to the ceiling, you'll need to remove and replace the molding so it matches the veneer species on the rest of the cabinets. Of course, you can build cabinet doors and drawer faces to complement the new veneer. But if your woodworking skills aren't quite to that level yet, Rockler offers made-to-order cabinet doors in several attractive styles and wood species that could be a great solution to complete your cabinetry rehab project.
Scenario 2: You like the wood grain of the cabinets but not the stain color. Or the finish is looking dingy and worn.
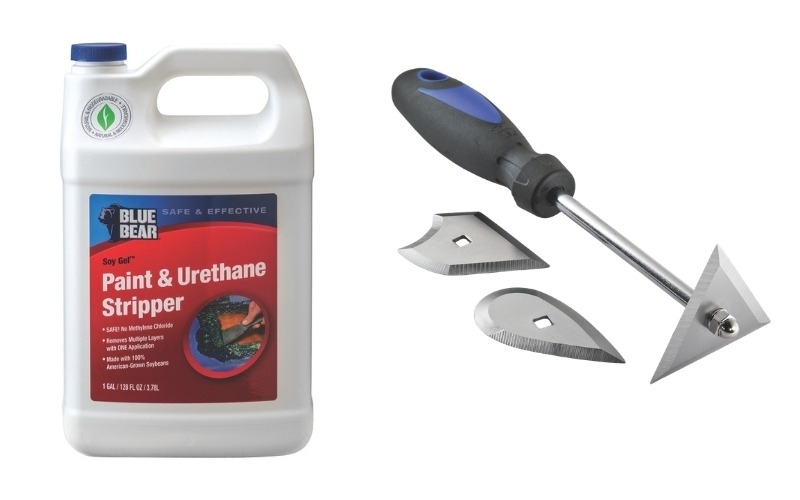
If the varnish is showing signs that it's seen better days, or you'd like to change your cabinets to a different stain color, you'll need to remove the old finish, which for practical purposes means chemical stripping. It's an involved and detail-oriented job, but not particularly complicated. Plan to take your time and spread the project out over several weekends. Most old varnishes and stains can be removed with a "safety" stripper — one that contains none of the most caustic solvents used in stripping (methylene chloride and methyl ethyl ketone) such as this organic and bio-degradable product from Blue Bear. For a really tough job, like removing industrial finishes or multiple layers of paint, you may have better results with a more aggressive stripper that contains stronger solvents. Before you get started, make sure you have all the basic "stripping equipment" on hand, such as steel wool, synthetic finishing pads, rubber gloves, an applicator brush and rags. You can speed the process of stripping intricate decorative edges or moldings with a contour scraper like the Three Blade Shavehook or this ergonomic detail scraper. Remember that if you are using strippers and solvents that contain toxic chemicals, be sure to follow the manufacturer's directions, provide adequate ventilation and protect yourself with a suitable respirator and safety glasses.
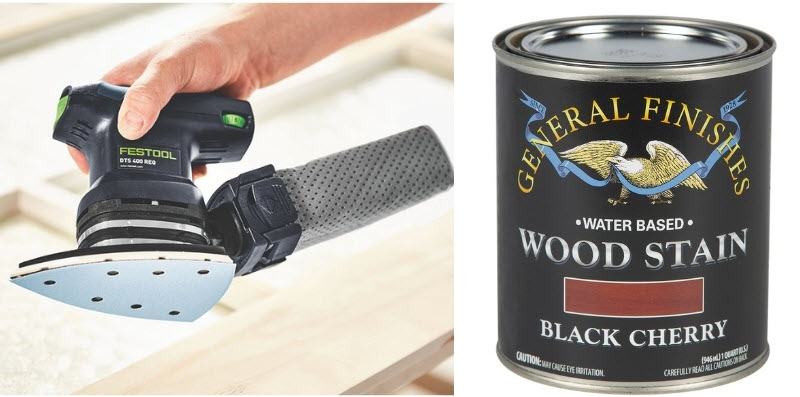
Once the old finish is completely removed and you're down to bare wood and plywood, give all the exposed surfaces a light sanding with 180-grit sandpaper. A power detail sander with a delta-shaped pad can be a real blessing for reaching into tight corners! But hand-sanding will certainly work, too. The goal here is to just smooth any wood grain that may have become raised and rough during the chemical stripping process. Vacuum all surfaces clean and proceed to apply your stain color of choice. Be aware that these days, a wide palette of attractive, water-based stains are available. While the old stand-by oil-based stains are still widely available, newer water-based stains are easy to apply, dry much more quickly and don't have the strong solvent odor of oil-based stains. Complete the job with several coats of water- or oil-based urethane varnish for top protection. Sand between coats of varnish with 320-grit sandpaper to ensure that the finish builds to a smooth final surface.
Scenario 3: You'd like to paint your cabinets to hide unattractive wood grain
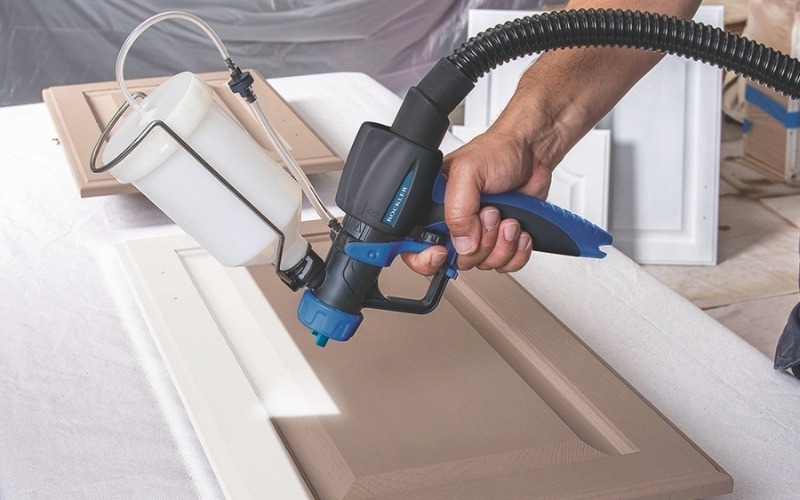
Durable enamel and latex paints, or even today's formulations of traditional milk paint, can be a vibrant and cost-effective way to hide unattractive wood grain on cabinets. The overall process is easier than chemical stripping, and the end-result is surprisingly durable and easy to wipe clean! But the project can have an unpleasant pitfall if you’re not careful with your prep work. What's crucial here is to thoroughly de-gloss the previous clear finish before priming and painting. Start with 220-grit sandpaper on either a hand-sanding block or in a detail sander and go over all the varnished surfaces until they look cloudy and dull. You don't have to remove the old finish completely, just the top shiny layer. Scuff-sanding like this gives the new primer a microscopically "toothy" surface to cling to, for improved adhesion. Then, wash the sanded surfaces clean with soapy water and allow them to thoroughly dry.
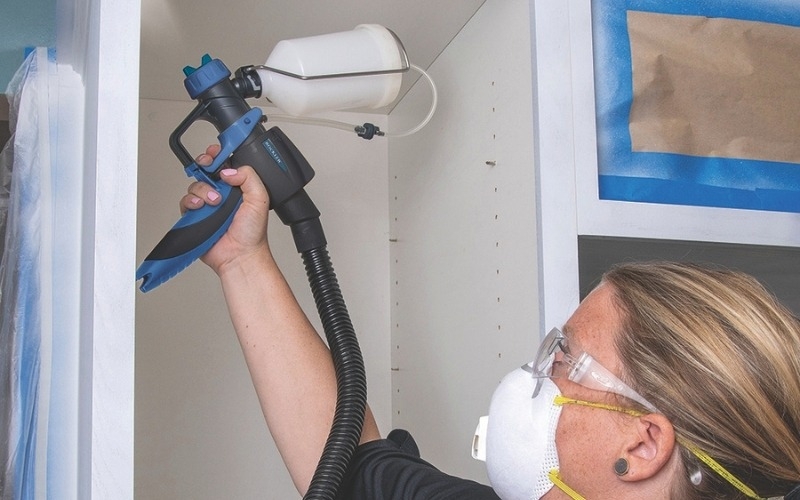
You can prime and paint your cabinets by hand with brushes or foam paint rollers. Or try a high-volume, low-pressure paint sprayer to tackle the job even faster. If you decide to spray, be sure to wear a respirator and eye protection, and mask off as well as cover all adjacent surfaces to protect them from overspray.
Scenario 4: You'd like to simply repaint your painted cabinets a new color.
New paint will generally adhere well to old paint that's in sound condition, but it won't stick well to greasy, grimy surfaces. So, before you start brushing on that fabulous new color you have in mind, take the time to carefully clean all the painted surfaces first. A strong solution of ammonia and water, or water and dish soap, will cut through years of kitchen stains and dirt quite nicely. For even better performance on tough stains, use trisodium phosphate (TSP) granules in water instead. Available at any hardware store or home center, TSP is a strong cleanser that both will remove organic stains and de-gloss the paint surface for improved adhesion of the new paint. It's a particularly good prep step if the old paint has a glossy sheen. Be sure to wear durable, chemical-resistant gloves when working with TSP.
It isn't essential to apply a primer coat over old paint before repainting. But priming will hide a darker color better so you can often apply the new color in a single coat. In fact, many paint formulations these days already contain primer for improved coverage, to save you the extra effort. Look for "paint plus primer" to be advertised prominently on the label.
Scenario 5: You'd like to strip your painted cabinets to bare wood and finish them with stain or a clear finish instead.
Perhaps you prefer the warmth and beauty of natural wood over painted surfaces, and you're wondering if stripping and refinishing your cabinets is the way to go. Here's a word to the wise: Not all painted cabinets hide beautiful hardwood, just waiting to be refinished. Sometimes what lies under the paint is less attractive plywood or a hardwood, which might explain why the cabinets were painted in the first place. Oftentimes poplar was used for painted cabinets. It often has streaks of purple, green, gray and black all in the same board and doesn't look particularly attractive under a stained or clear finish. Or the cabinet components may have color shifts from piece to piece, because a clear finish was never the intention when they were built.
Stripping paint is even more fussy than removing an old clear finish, because you need to remove every single bit of the old paint down to bare wood. Any spots you miss will be noticeable. So, temper your enthusiasm and do a bit of careful sleuthing before getting in too deep. Check for unpainted surfaces on the cabinets to examine how the underlying wood looks in its natural form. If you can't find any bare wood, consider chemical stripping the paint off an inconspicuous area instead.
Another important concern to keep in mind when stripping old paint is the potential presence of lead. If your home was built before the late 1970s, your cabinets likely were painted with lead-based paint. Breathing or ingesting even small amounts of lead dust is harmful. So, plan to chemical strip rather than sand and scrape the paint to remove it.


Keep the inspiration coming!
Subscribe to our newsletter for more woodworking tips and tricks


