 My Lists
 Classes
 Learning Center
Table Saw Basics

Table Saw Basics: Complete Beginner Guide
When it comes to versatility, few tools can rival a table saw in any woodworking, DIY or maker shop. Whether you’re cutting plywood, ripping boards to width or performing precise joinery cuts, you'll turn to your table saw for nearly every wood project. Learning the basics of how the saw works will help you use it more confidently, safely and effectively. This guide covers what you'll need to know, from core components and basic cuts to important safety practices and helpful tips.
What is a Table Saw?
A table saw is a stationary or portable woodworking machine that makes straight and angled cuts. A circular blade mounted beneath a flat table performs the cutting operation. You adjust the amount of blade that protrudes through the table, as well as its angle, then push material across the table and through the cut. Workpieces are also guided by an adjustable rip fence, a miter gauge or other jigs to keep the cut tracking correctly and repeatably. Using nothing more than the basic equipment that comes standard with the saw, you can perform all the basic cuts needed for an endless number of woodworking and home improvement projects.
Table saws are commonly used for these five types of cuts:
- Ripping lumber (cutting along the grain to flatten edges and resize boards to width)
- Crosscutting boards to length
- Angle-cutting workpieces across their width (miter cuts) or through their thickness (bevel cuts)
- Cutting sheet goods such as plywood, MDF and particleboard
- Cutting rabbets, dadoes, grooves and other joinery
Because of its precision, versatility and ease of use, the table saw is often considered the centerpiece of a workshop, especially when paired with the right table saw blades, accessories and jigs.
Types of Table Saws
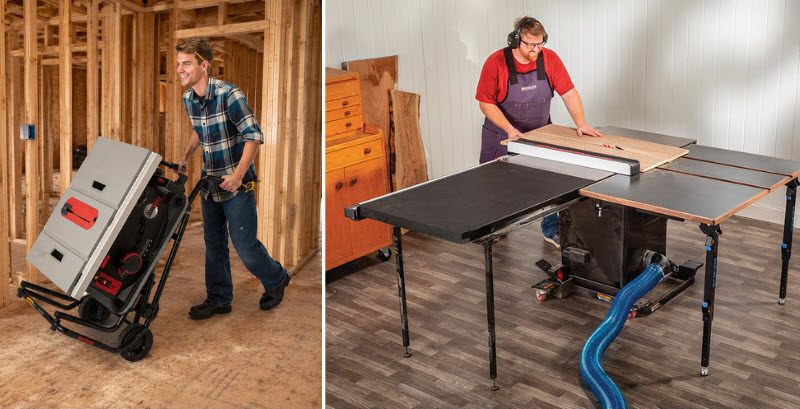
While all table saws perform the same basic cuts, there are three primary styles to choose from including jobsite, contractor and cabinet saws. The type you choose should depend on various factors, including the saw's overall size and capacity, how powerful it is, its portability, features and how well it fits your tool budget. Here are the main differences between the three saw types:
- Lightweight and compact, featuring smaller universal motors and lighter-duty alloy and plastic components
- Run on 110-volt household current or, depending on the model, rechargeable tool batteries
- Sized for easy mobility, often including a collapsible stand on wheels
- Use 8-1/4" or more typically 10" blades
- Ideal for contractors, small shops and occasional users
- Most affordable of the three options
Contractor Table Saws
- Much larger than jobsite saws, with cast-iron tables and steel frames
- Heavy-duty induction motor protrudes from the back of the saw
- Run on 110-volt household current
- Sized for larger capacity and a full range of cutting operations, including joinery
- Use 10" blades as well as dado blade sets
- Limited portability, which can be improved by adding a mobile base with casters
- Good choice for pro shops and serious hobbyists
- Moderately priced and less expensive than cabinet saws
- Heavy-duty components throughout for rugged use and extreme precision
- Large cast-iron tables and side extension tables for maximum workpiece capacity
- Enclosed cabinet-style base offers excellent stability and effective dust collection
- Powerful 2 to 5 HP induction motors that run on 220-volt current
- Use 10" or 12" blades as well as dado sets
- Very limited mobility, which can be improved by adding a mobile base with casters
- Designed for rigorous daily use in professional shops
- Expensive
No matter which type of saw you use, accuracy and safety can be improved with outfeed support stands, dust collection, premium blades, featherboards and push sticks. Be sure to wear approved safety goggles or glasses, appropriate hearing protection and a dust mask.
Parts of a Table Saw
Understanding its main components will help you operate a table saw correctly and safely. Some key parts include:
- Blade – Circular steel plate outfitted with 40 or more razor-sharp carbide teeth in several tooth configurations
- Rip Fence and Rails – Guides the wood as it is being cut along its length and can be positioned to any width of cut within the saw's range. The rip fence rides on a pair of fixed rails that keep the fence perfectly parallel to the blade, regardless of where it is positioned.
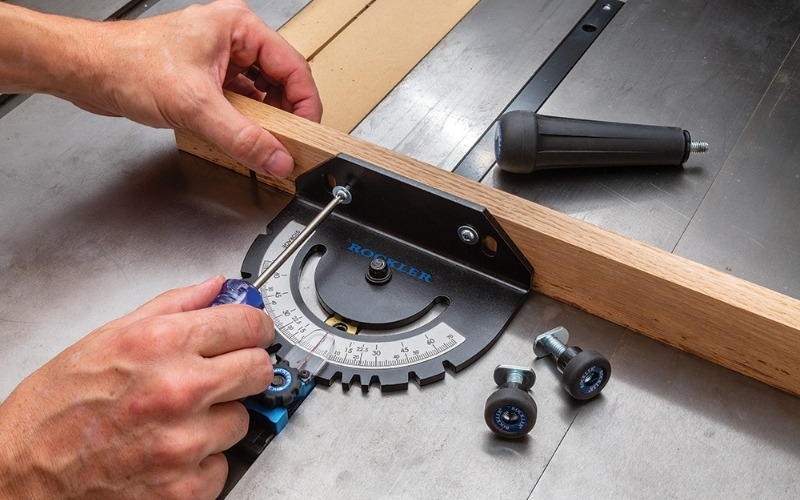
- Miter Gauge – Consists of a bar that slides in slots in the saw table and a rotating protractor-style adjustable head. Helps make crosscuts and angled cuts on smaller workpieces.
- Table and Extension Wings – Provides a flat cutting area with a throat opening for raising or lowering the blade. Extension wings fasten to either side of the saw table on larger saws and contribute additional workpiece support.
- Blade Guard – Plastic shroud that covers the blade at any height setting to shield the user from blade exposure and flying debris.
- Riving Knife – Crescent-shaped steel plate mounted immediately behind the blade that prevents workpieces from pinching it during cutting and causing kickback.
For a more extensive overview of a table saw's components with a visual guide, see Parts of a Table Saw.
Basic Table Saw Terminology
Learning a few key terms will make table saw functions easier to understand:
- Kerf – Width of the cut made by the blade
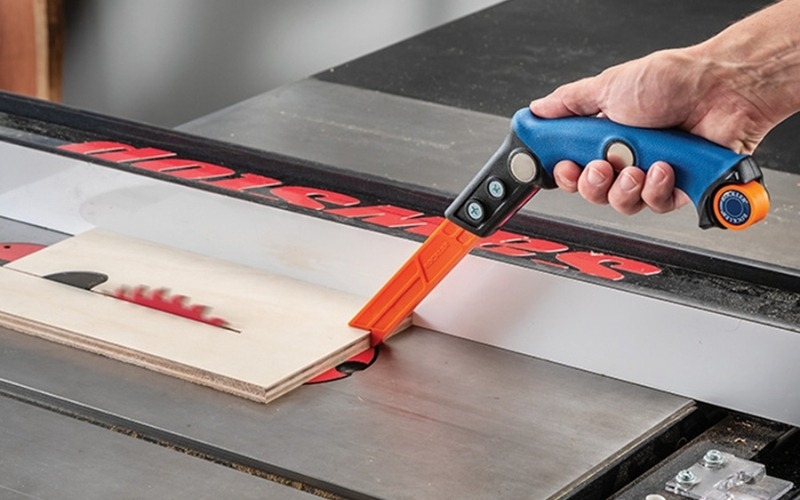
- Push stick – Handheld safety device with a bird's mouth end used for pushing narrow workpieces past the blade when making rip cuts
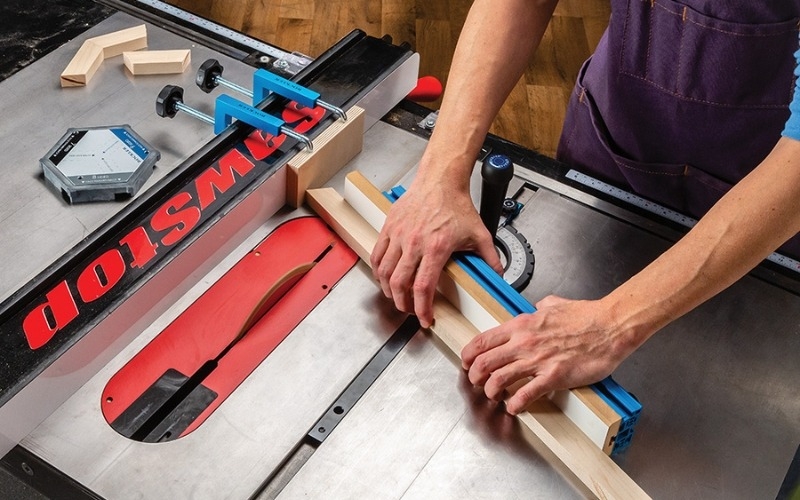
- Featherboard – Accessory with a row of flexible fingers that mounts to the saw table or rip fence and prevents workpieces from drifting off course or lifting up during cutting
- Kickback – Instantaneous, violent reaction that occurs when a workpiece binds the back of the blade and then is thrown forward by the blade toward the operator
Essential Cuts You Can Make
A table saw allows you to make several fundamental cuts:
- Rip Cut – Cutting along the length of a board to flatten an edge or change its width, using the rip fence as a guide
- Crosscut – Cutting across the width of a board to change its length, typically using the miter gauge as a guide
- Miter Cut – Cutting across the width of board at an angle, using the miter gauge pivoted to an angle other than 90°
- Bevel Cut – A rip cut made with the blade tilted to an angle other than 90°
- Dado or Groove Cut – Cutting a square-sided slot partway through the thickness of a workpiece for joinery, using a standard blade or a specialized dado blade; called a dado when the cut crosses the grain direction or a groove when the cut follows the grain
- Rabbet Cut – Square-sided cut for joinery made on the end or edge of a board
Mastering these cuts expands your table saw's versatility and opens the door to more advanced woodworking projects
Safety Basics
Operating a table saw safely demands your undivided attention and respect. Here are a few rules to keep in mind every time you are planning or performing a cut:
- Always use a blade guard and riving knife whenever the cutting operation allows it
- Keep hands at least 6" away from the blade during cutting; use push sticks or push blocks to increase your margin of safety near the blade
- Stand to the left of the blade when making rip cuts, not directly behind it
- Never force material through the cut; if it requires more effort than usual, stop and evaluate your saw, setup and material carefully
- Make sure your saw's blade, miter slots and rip fence are properly aligned
Everyday Tips for Better Cutting
Adopting a few simple table saw practices can greatly improve your cutting results:
- Use the correct blade for the cutting task and material
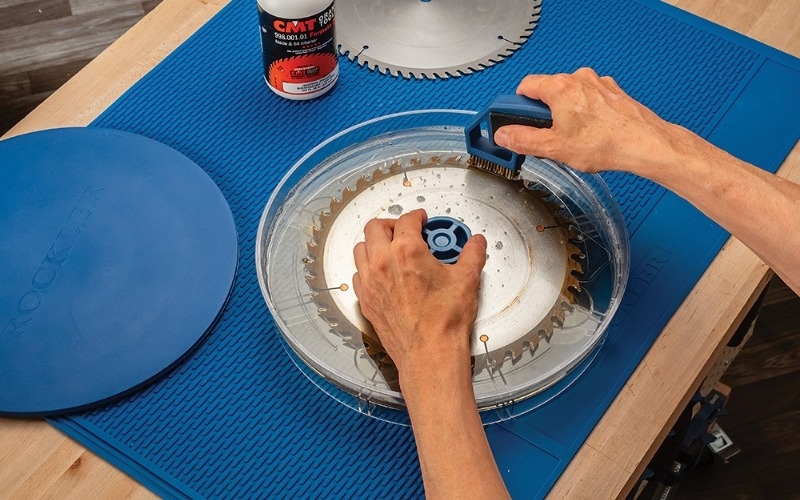
- Clean your saw blade frequently and inspect the teeth for wear
- Check the rip fence's alignment regularly
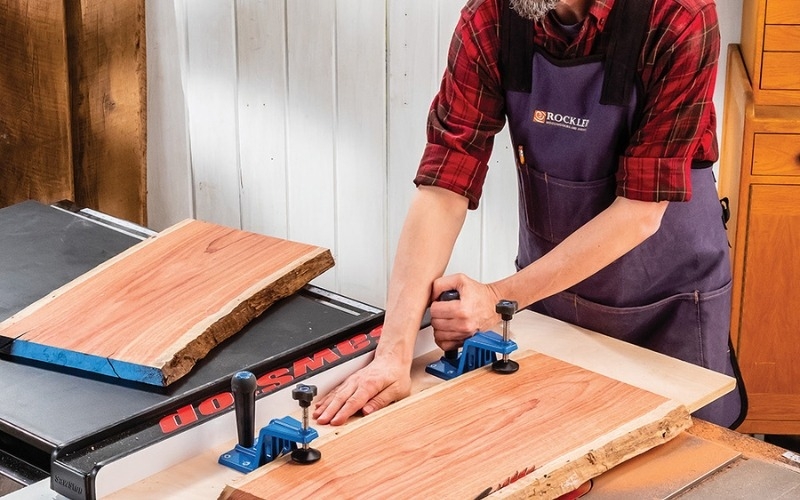
- Support large panels with outfeed tables or stands to protect the material and maintain control over the cut
- A test cut is a smart way to verify your setup before making the final cut
Common Mistakes to Avoid
Many beginner frustrations result from a lack of careful preparation:
- Attempting to make a rip cut without a flat edge against the rip fence
- Presuming the blade is square to the table without checking it first
- Overestimating your miter gauge's ability to support a long or large workpiece
- Skipping featherboards in favor of saving time
- Enduring dust and debris instead of connecting your saw to dust collection
As with many other aspects of life, when it comes to setting up a cutting operation, failing to plan carefully is actually planning to fail.
Next Learning Steps
Now that you understand some table saw basics, you can continue to expand your knowledge here:
- See Parts of a Table Saw to learn all the saw's components in detail
- See Table Saw Terminology for more key terms
- See Table Saw Tips to improve your setup and cutting techniques
As your skills grow, adding jigs and accessories to your table saw can help to maximize its full potential. With practice and proper setup, we're certain you'll agree that a table saw is one of the most valuable tools in your shop.


Keep the inspiration coming!
Subscribe to our newsletter for more woodworking tips and tricks


