 My Lists
 Classes
 Learning Center
Table Saw Maintenance Guide
Keeping a table saw in top-notch condition isn't difficult, it just takes a bit of regular maintenance including cleaning, inspection, replacement of worn parts, alignment and fine tuning. Tuning up your table saw every six months or so will make it a pleasure to use. But avoiding the effort will make your table saw inaccurate and a pain to use at best, and at worst it could cause a serious accident. Good maintenance will keep any kind of table saw — jobsite saws, contractor or cabinet table saws — performing both accurately and safely over the decades to come.
In this video, former Woodworker's Journal Magazine contributing editor Sandor Nagyszalanczy walks you through the maintenance procedure he uses for his table saw. It's also summed up as a ten-step checklist below, for your convenience.
Ten-Step Table Saw Maintenance Checklist
The following maintenance tasks can be carried out individually on an "as needed" basis, but for best results, perform Steps 4 through 6 in sequence each time these adjustments are required.
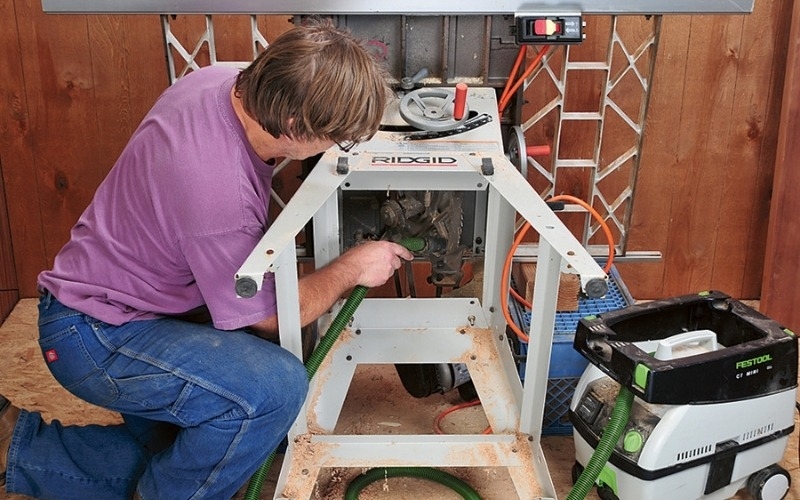
Step 1: Clean and lubricate the gears and operating mechanisms
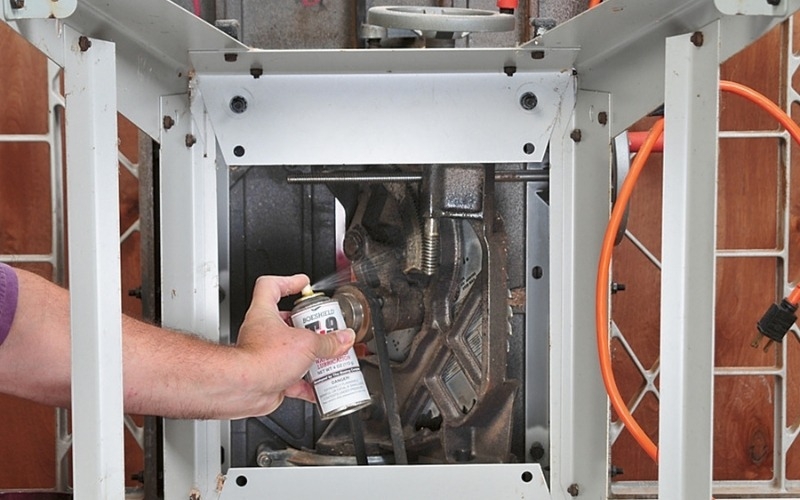
Tilt the table saw blade and, working inside the saw's base, scrub and remove caked-on grease and sawdust from the trunnions and gearing using a stiff brush. Vacuum up the debris, then coat these surfaces with a dry lubricating spray such as Boeshield T-9 to inhibit future build-up and help them operate smoothly.
Step 2: Align the motor and arbor pulleys (contractor saws)
On contractor saws with cantilevered rear-mounted motors, use a long precision straightedge to verify that the motor and arbor pulleys are aligned. If they aren't, loosen and adjust the position of the motor on its mount, or the motor pulley, to correct for any misalignment.
Step 3: Inspect the drive belt(s) and check belt tension
Slowly rotate the drive belt or belts on contractor and cabinet saws, looking for excessive glazing or cracks in the belt material that indicate wear. Replace the belt or belts if worn. Refer to your saw's owner's manual to adjust belt tension, if needed, to prevent slipping during operation.
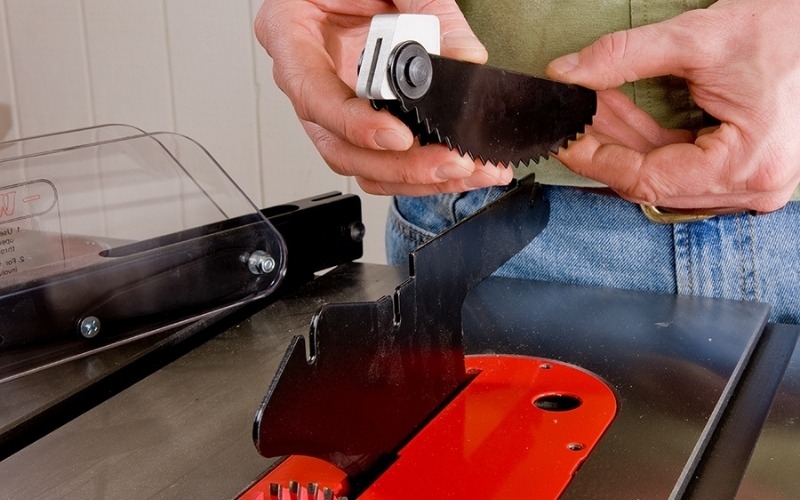
Step 4: Adjust blade tilt angle stops
Using a try square and 45° triangle or bevel gauge, adjust the bevel-tilt mechanism so the stops enable the blade to be set accurately at both 0°/90° and 45°.
Step 5: Align blade parallel with miter slots
Check the blade for parallelism with the miter slots, using the miter gauge and a piece of scrap wood or a Rockler Table Saw Alignment Gauge. Refer to your saw's owner's manual to adjust the trunnion mounting system or the saw table on saw's base to correct for any misalignment.
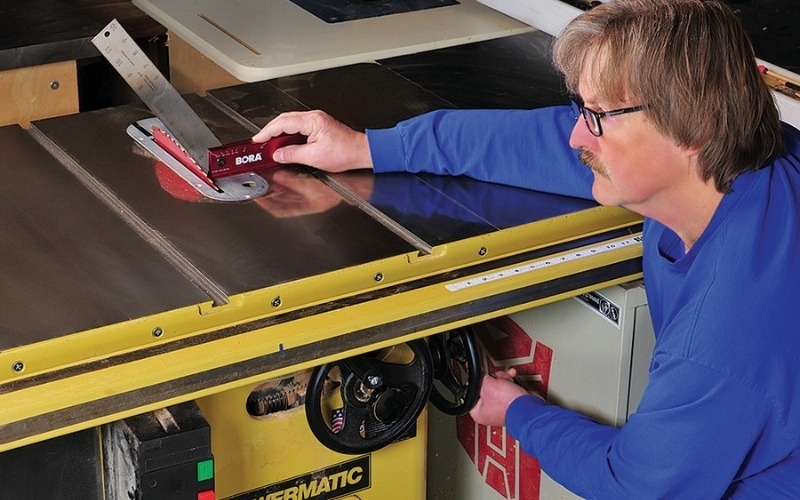
Step 6: Adjust the rip fence parallel with the miter slots (and blade)
Carry out Step 5 first. Then insert a pair of tightly fitting scrap blocks into a miter slot. Set and lock the rip fence so it touches these blocks, checking for flush contact against both blocks. If there's a gap beside one of the blocks, adjust the rip fence's set screws to eliminate it. Now raise the blade and set the rip fence lightly against it. Adjust the fence's hairline cursor so it reads "0" inches on the rip fence scale.
Step 7: Adjust the miter gauge bar and angle stops on the miter gauge head
Tighten or loosen any miter bar adjustment screws so the bar moves smoothly but without side-to-side play in the miter slots. Using a scrap of wood, perform a dynamic cutting test to fine-tune the miter gauge's 90° stop setting.
Step 8: Set the throatplate and extension table height
Adjust the throatplate screws to raise or lower the plate as needed until it is flush with the surrounding saw table. Use a long precision straightedge to verify that the saw's extension wings are also flush with the table's center casting and co-planar with it. Shim behind the mounting bolts, if needed, to level the extension wings.
Step 9: Adjust the guard and splitter/riving knife
Use a long precision straightedge to verify that the saw's splitter or riving knife aligns precisely with the saw blade plate. Adjust as needed. Inspect the guard assembly for smooth movement and that the anti-kickback pawls have sharp points.
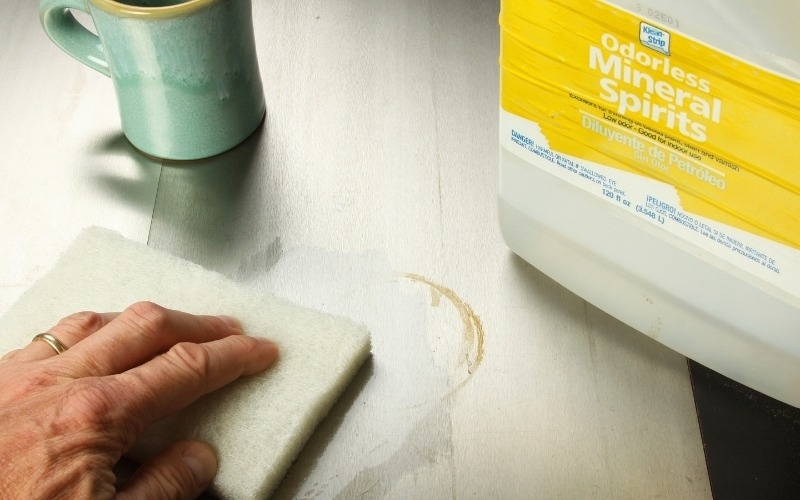
Step 10: Clean the saw blade and tabletop
Clean and carefully inspect the saw blade for damage. To learn more, read: How to Clean and Maintain Saw Blades. Use a synthetic scrub pad or 800-grit wet/dry sandpaper and mineral spirits to remove any rust from the surface of a cast iron saw table. Once it is clean, apply paste wax or a dry lubricating spray such as Bostik GlideCote to inhibit rust formation and improve the table's surface smoothness.


Keep the inspiration coming!
Subscribe to our newsletter for more woodworking tips and tricks


